Hotline đặt Bánh sinh nhật
Hà Nội: 03.666.22.666Tạo hình hoa sô cô la đẹp - DIY CHOCOLATE DAFFODILS
Hunnie Cake (Lambanhngon.com) - Dạy làm bánh - Đặt bánh cưới, sinh nhật


CHOCOLATE DAFFODILS
a tutorial by Erin Gardner
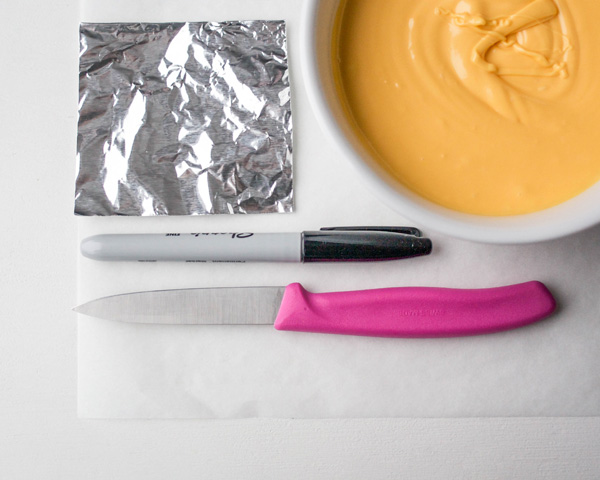
Supplies:
Yellow Candy Melts
Heavy Duty Aluminum Foil
Parchment Paper
Marker
Small Knife
Small Paint Brush
Small Bowl

MAKE THE CENTER AND PETALS
Tear off a piece of heavy duty aluminum foil that’s about 3-inches wide. Tear that strip in half and then fold one of the pieces in half. You’ll have a doubled-up square of foil that’s about 3-inches by 3-inches.
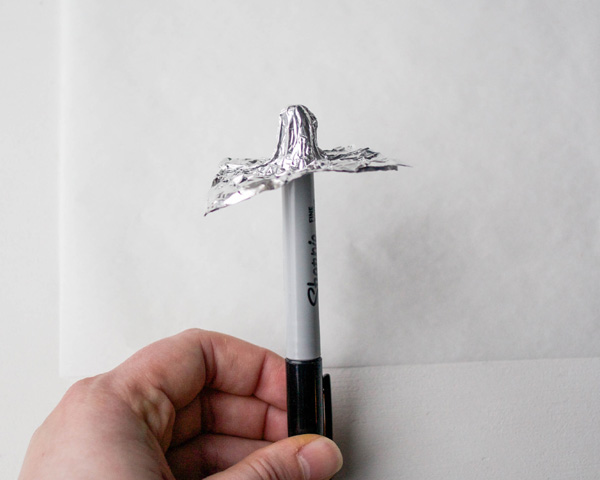
Smush the foil over the back of your marker. You could also use your finger, a lip balm, really anything that gives you a similar shape. Press the foil firmly around the end of the marker while leaving the edges flat. This creates the trumpet shape that will form the center of the daffodil.
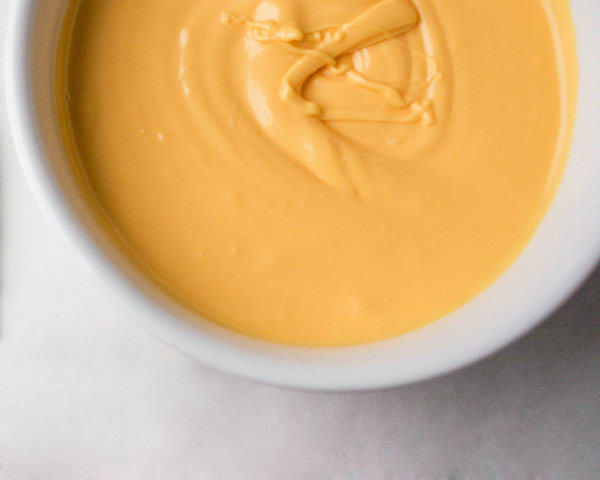
Melt the yellow candy melts in a small heat-proof bowl.
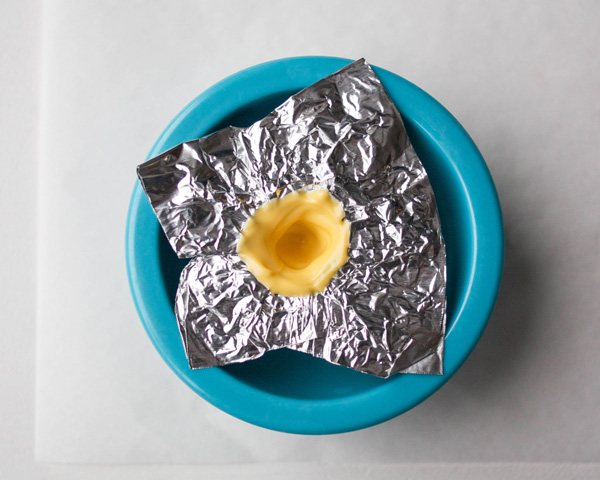
Using your finger or a paint brush, fill in the hole in the foil with melted yellow candy. The back of the brush actually works better for me, since the bristles can get gummed up pretty quickly. Make sure all of the edges are nicely coated. You shouldn’t be able to see any of the foil through the candy. Bring the melted candy up over the edge of the foil to create the top edge of your daffodil center. Set the filled foil piece into a bowl to dry.
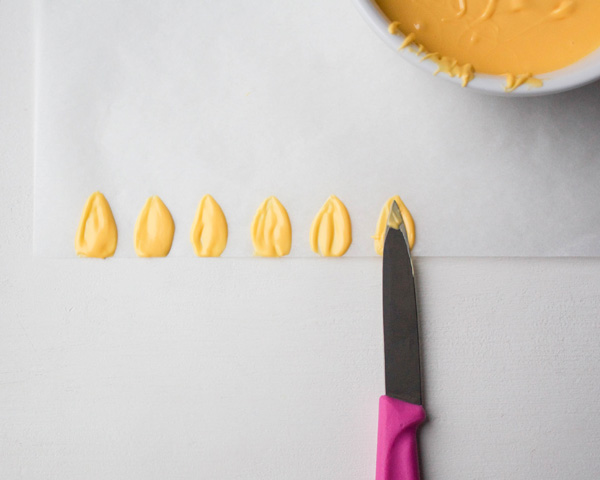
To make your petals, dip the flat side of the knife into the melted chocolate so that about 1-inch of the knife is coated. Lay the coated side of the knife against the edge of the parchment paper. Pull the knife down and away, smearing the candy onto the paper in a petal shape. You can go back in to add more candy, or rock the knife back and forth to create the shape you’re looking for. Repeat this process until you have 6 petals total.
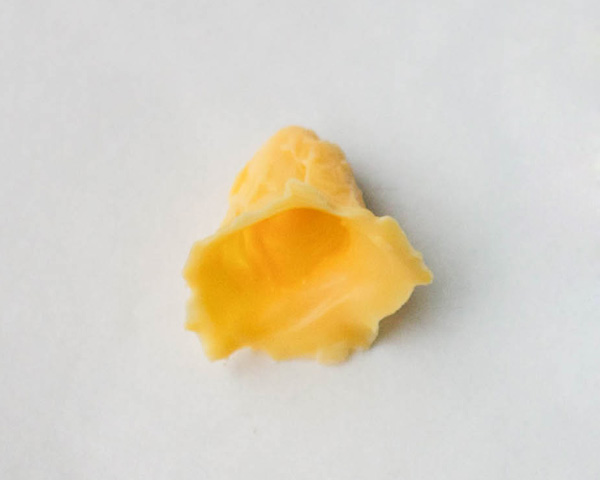
To un-mold your daffodil center, gently pull at the top edges of the aluminum foil. Move around the center, continuing to gently pull away the foil. Once the top edge is freed the bottom of the center should pop out.
ASSEMBLE THE DAFFODIL
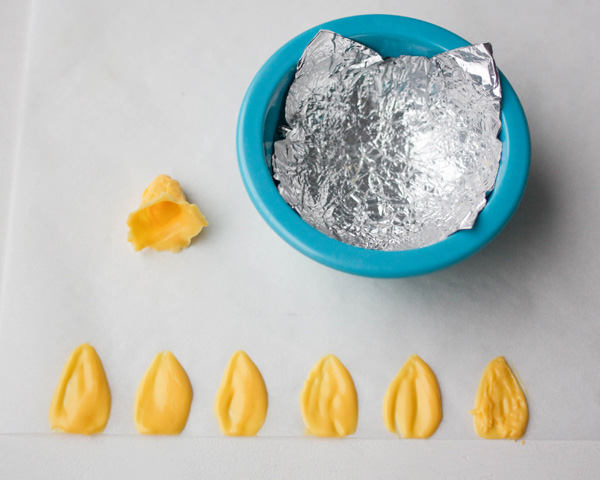
Use the remaining piece of foil to line your small bowl.
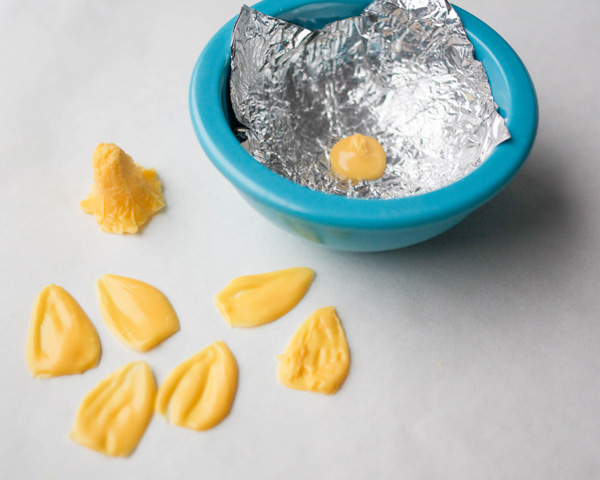
Pour a dime-sized amount of melted yellow candy into the center of the bowl.
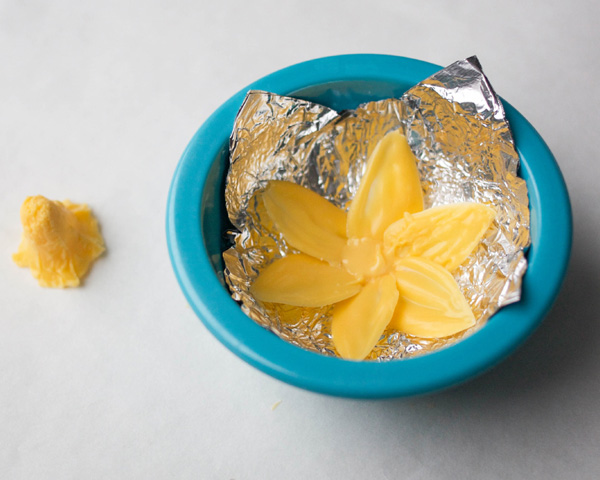
Place the flat end of a petal into the candy puddle. Repeat with the rest of the petals, overlapping the edges as you go. You can also dip the end of the petal into the melted candy before placing it for added stability.
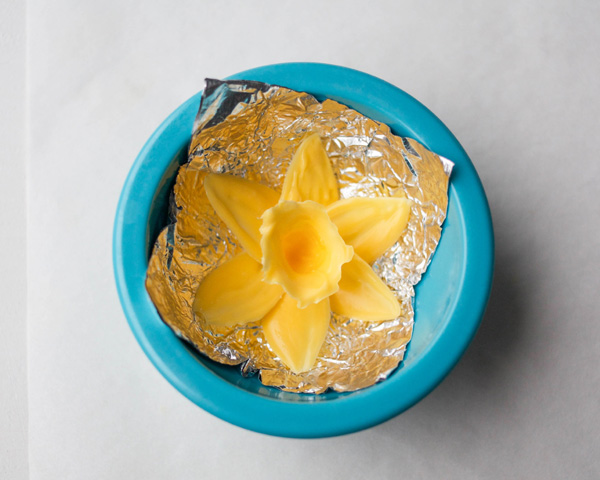
Add a little more melted candy to the middle of the newly formed flower. Position the center piece, standing upright. It should fit snuggly in the middle.
Set aside your finished daffodil until it’s completely dry. To remove, lift the foil cup from the bowl. Place one hand under the flower to steady it. Peel back the foil with your other hand.
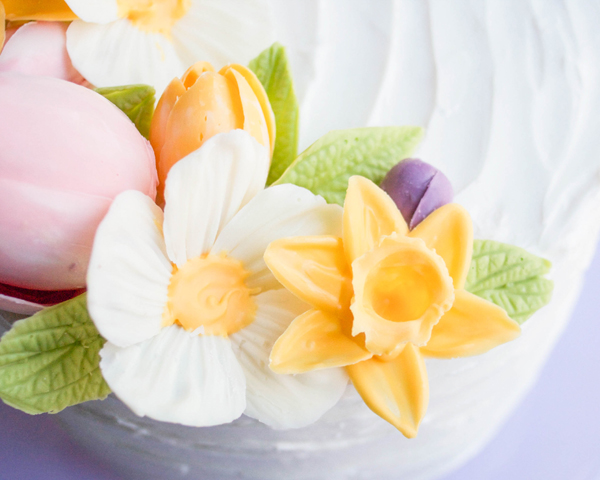
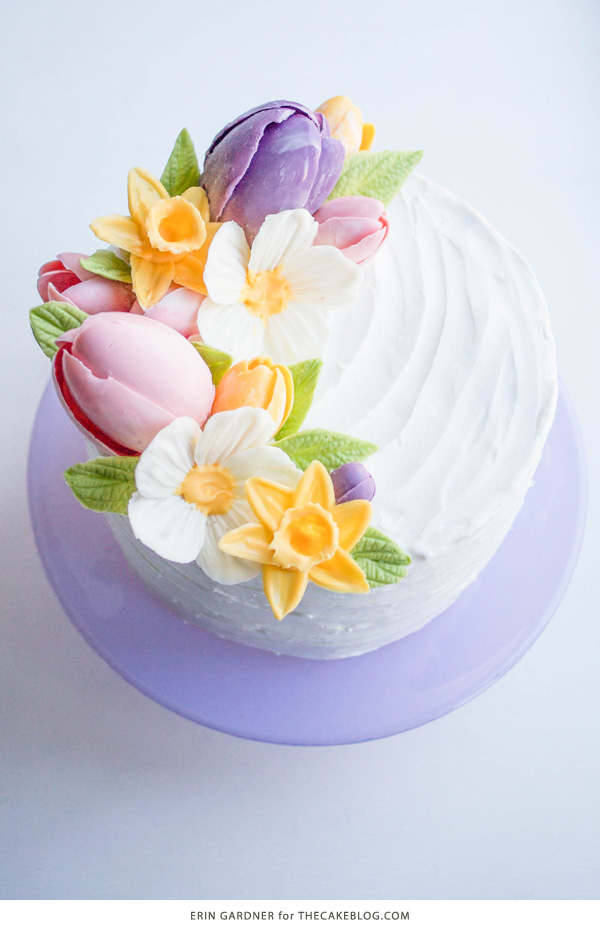
Use your tasty and beautiful daffodil to top a freshly iced cupcake, or as part of a beautiful chocolate flower arrangement, like I’ve done here. You can learn how to make the tulips and many other flowers in my online Chocolate Flowers Class. Daffodils come in all sorts of color combinations, so feel free to mix up the colors and get creative with your flowers!
Chocolate or candy flowers can be made well in advance. They’re best stored in an airtight container at room temperature. They’re good for as long as the expiration date on your bag of candy or bar of chocolate.
VENDORS & CREDITS
Tutorial : Erin Gardner of Erin Bakes
Các tin cùng chuyên mục
CHOCOLATE FLORAL WRAP - - 27/08/2015 09:22Bảng chữ số Vương miện - 01/08/2015 18:30
Hướng dẫn nặn hình theo chủ đề đại dương - 11/04/2015 17:54
Tự làm Gumpaste tại nhà - 27/12/2014 10:12
Hướng dẫn làm hoa mao lương - Ranunculus Tutorial - 29/11/2014 12:25
Công thức tự làm sugarveil - 28/11/2014 10:15
Hướng dẫn cách trang trí bánh quy đơn giản cho valentine - 13/11/2014 12:57
Hướng dẫn nặn hình đôi bốt cho bé, yếm và bộ body - 13/11/2014 12:52
How to Quilt a Fondant Cake - 13/11/2014 12:51
Moroccan Cake + A Wafer Paper Flower Tutorial - 03/11/2014 08:53
Hướng dẫn phủ fondant làm xe ô tô minicooper - 19/08/2014 11:14
Cách làm hoa theo kiểu RUFFLE FLOWERL đơn giản - 17/08/2014 09:47
Hướng dẫn cách làm hoa bánh fondant chủ đề tím trắng - 17/08/2014 09:45
Hướng dẫn cách trang trí bánh fondant nông trại - 17/08/2014 09:42
Hướng cách nặn quần áo, giầy, váy em bé - 17/08/2014 09:40
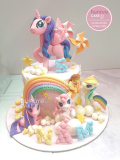
Bánh Sinh Nhật Ngựa Pony Đẹp Ấn Tượng – Quà Tặng Mơ ước Cho Bé Gái 11517Giá: 850.000 VNĐ
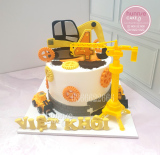
Bánh Sinh Nhật Xe Cần Cẩu – Quà Tặng Sinh Nhật Ấn Tượng Dành Cho Bé Trai Yêu Thích Máy Móc 11516Giá: 500.000 VNĐ
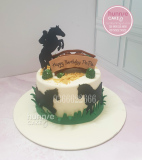
bánh sinh nhật con ngựa đẹp nhất cho người tuổi ngọ 11516Giá: 850.000 VNĐ
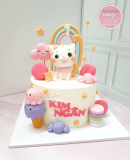
Bánh Sinh Nhật Mèo Con 1 Tuổi - Món Quà Đáng Yêu Tặng Bé Gái 11515Giá: 500.000 VNĐ
Bánh Sinh Nhật Tình Yêu Vợ Chồng: Kỷ Niệm Ngọt Ngào ngày sinh nhật 11514Giá: 250.000 VNĐ
Dạy làm bánh - Nhận đặt Bánh cưới, Bánh sinh nhật, Bánh Handmade 100% theo yêu cầu - Cung cấp nguyên liệu, dụng cụ làm bánh
Cơ sở 1: Số 65 Ngõ 111 Cù Chính Lan - Thanh Xuân - Hà Nội (Đến số 311 Trường Chinh - Ngã tư sở đi vào) (Xem bản đồ)
Cơ sở 2: Số 10A Tràng An - phường Tân Thành - Thành phố Ninh Bình. ( Đối diện hồ Kỳ Lân) ( Xem bản đồ)
Điện thoại : 03.666.22.666 (Viber/Zalo) - 08.5622.5622 - 0983.002.989 (WhatsApp)
Số TK: 10524948099011 - Chủ TK: Mai Thu Trang - Ngân Hàng: Techcombank - Hà Nội.
Số TK: 0021001040845 - Chủ TK: Mai Thu Trang - Ngân Hàng: Vietcombank - Hà Nội .
Email: hunniecakehn@gmail.com
--------------------------
|
Cửa hàng bánh Hunnie Cake |